Residence can be created in multiple ways. This ranges from a manual selection of the area to automatic creation when you place your first chest on a ground.
Manual selection
Select the residence selection tool, which by default is wooden hoe. You can double-check the selection tool with /res tool command.
While holding the selection tool in your main hand, select 2 opposite points with left and right mouse clicks. After clicking with left mouse, you will get feedback message similar to
After selecting the priamry point, go to the oposite side of your residence and right-click block. This, again, will output similar feedback message
After selecting 2 points you will get additional message into an action bar with a size of selection and how much will it cost for you to create a residence like this.
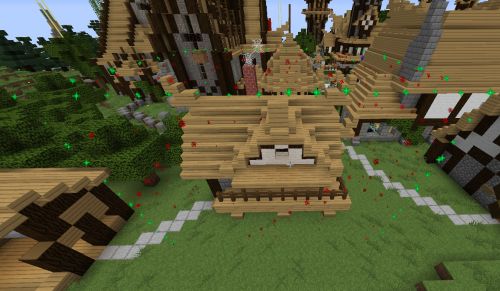
In addition to this selected are will be shown with particles to indicate exactly which area gets protected after creation.
In case you are not happy which area got selected, you can reselect points or use commands like /res select expand [amount] or /res select contract [amount] to contract or expand the selection to the direction you are looking at. So you can tweak selection to your own liking.
After you decided that selection is correct and encloses the entire area you want to protect, there is one last thing you need to do. You will need to perform /res create [resName] command. So if you want to create a residence with the name of SweetHome then the command will look like /res create SweetHome after which you will get additional feedback message with extra information and protected are will get marked again to indicate what exactly got protected.

And you are done! You have your home protected from griefers and you can be safe in this area.
Selection does have additional variables which can help out to select an area to your liking, so check out commands section.
if you are too lazy to select an area by hand or its too complicated to know where your residence ends and where it begins, you can use /res select auto command which will toggle automatic selection depending on where you move. So after turning this on, what its left for you to run around your residence from edge to edge and area will be selected for you while showing with particle effects what exactly got selected.
Auto Creation
Automatic creation has a couple of variations by itself. So let’s look at the first one.
Stand in the middle of your house, ad perform /res auto (resName) (radius) where residence name is optional and if not provided will use players name. A radius is an option too, but you can provide max size of residence you want to create, in case you don’t want to spend all of your money. This command will create a residence as big as you can have around you by taking into consideration any residence which would overlap each other.
Another option is to get your new residence by simply placing a chest on the ground for the first time on a server. This should be enabled in the config file and it can give out new tiny free residence or charge player accordingly if needed.
Residence management
On residence creation, you will become the owner of that land. So you can change residence flags which will change the behavior of that area for other players or animals inside it.
So first things first. If you want to keep it private, disable tp flag with /res set tp false this will prevent anyone else teleporting to your residence while you will have this option, as you are owner after all.
To prevent a player from entering your residence use /res set move false which will prevent movement of other players inside your residence and will prevent teleportation to it.
Do you have friends? Not an issue! Simply use /res padd [playerName] while stranding inside a residence, which will add target player to your residence and will give basic permissions, like teleportation to it, permission to use chests, to open doors, to build or destroy blocks. If you no longer want to have this friend as your friend, then simply remove him with /res pdel [playerName]
Each player can have different permissions for each residence. So you can prevent particular players from entering your residence but allow everyone else. For this you can simply use /res pset [playerName] move false while standing inside a residence.
You can always double-check who has access to a particular residence with /res info command. This will output permission limitations for residence itself and for each player you have set specific permission nodes.
In case you don’t have full trust in someone, but you want to live in the same residence, then you can use subzones. What is subzone? You can think about them as residence inside a residence. Simply use previous methods to select the area inside your residence and perform /res subzone firstSub to create the first subzone with the name of firstSub. This new area can have different flags set to it. So you can give more permission for players in that area, but limit access everywhere else.
You got rich and you want to expand residence? Well, it’s as simple as it can get. Simply stand in your main residence area (not subzone) look at the direction you want to expand and perform /res expand [amount] where the amount is how many blocks you want to expand into that direction. After which your residence will update its protection area and you will be charged with an appropriate amount for doing that. The same thing works if you want to shrink its size, the command will be /res contract [amount]